DIY Off Grid

Canning Vegetables: A Step Towards Self-Sufficiency

Living off the grid is a lifestyle choice that’s gaining popularity, and canning vegetables is a cornerstone of this sustainable way of life. Whether you’re nestled in a remote cabin or simply seeking to reduce your carbon footprint, canning offers a way to preserve the bounty of your garden or local market for year-round enjoyment. Let’s delve into the art of canning vegetables and how it supports living off the grid. The Basics of Canning Vegetables Canning is an age-old method that involves placing vegetables in jars and heating them to a temperature that destroys microorganisms and inactivates enzymes that could cause spoilage. This process also removes air from the jars, creating a vacuum seal that keeps the contents safe for consumption over an extended period. Understanding the Science of Canning At its core, canning is a scientific process that halts the natural spoilage of food. This is achieved through: Preparing for Canning Before you begin canning, it’s essential to have a clean and organized workspace. Gather all necessary equipment and ingredients: Step-by-Step Canning Guide Safety Considerations Canning vegetables is a blend of art and science, requiring attention to detail and adherence to safety guidelines. By following these steps, you can ensure a successful canning season and enjoy the fruits of your labor all year round. Selecting the Right Vegetables When it comes to canning, not all vegetables are created equal. The process of canning involves high heat and pressure, which can affect the texture, flavor, and nutritional value of the produce. Therefore, it’s important to select vegetables that are well-suited to withstand this process and still come out delicious. Ideal Vegetables for Canning Vegetables to Approach with Caution Preparing Vegetables for Canning Once you’ve selected your vegetables, proper preparation is key: Considerations for Safety and Quality By carefully selecting and preparing the right vegetables, you can ensure a successful canning experience that yields delicious, safe, and nutritious results to enjoy throughout the year. The Canning Process Canning vegetables is a rewarding way to preserve your garden’s harvest or take advantage of seasonal produce. Here’s a detailed, step-by-step guide to help you through the canning process: Step-by-Step Guide to Canning Vegetables Step 1: Gather Your Equipment Before you start, make sure you have all the necessary equipment: Step 2: Prepare Your Vegetables Select fresh, ripe, and unblemished vegetables. Wash them thoroughly under running water. Depending on the vegetable, you may need to peel, chop, slice, or blanch them before canning. Step 3: Sterilize Your Jars and Lids Sterilize your canning jars by boiling them in water for 10 minutes or using the sterilize cycle on your dishwasher. Keep the jars hot until they are ready to be filled. Step 4: Fill the Jars Using a canning funnel, pack your prepared vegetables into the jars, leaving the recommended headspace (usually 1 inch). Add boiling water or a pickling solution, maintaining the headspace. Step 5: Remove Air Bubbles Slide a non-metallic spatula around the inside edge of the jar to release any trapped air bubbles. Adjust the headspace if necessary by adding more boiling water or solution. Step 6: Wipe the Rims and Seal the Jars With a clean cloth, wipe the rims of the jars to ensure a good seal. Place the sterilized lids on the jars and screw on the bands until they are fingertip tight. Step 7: Process the Jars Place the jars in the pressure canner, following the manufacturer’s instructions for your specific model. Process the jars at the pressure and time recommended for the type of vegetable you are canning. Step 8: Cool Down Once the processing time is complete, turn off the heat and let the canner cool down naturally. Do not attempt to open the canner while it is still pressurized. Step 9: Remove the Jars Using a jar lifter, carefully remove the jars from the canner and place them on a towel or cooling rack. Leave them undisturbed for 12-24 hours. Step 10: Check the Seals After the jars have cooled, check the seals by pressing the center of each lid. If the lid does not move up and down, it is sealed properly. Label your jars with the contents and the date of canning. Step 11: Store Your Canned Vegetables Store your sealed jars in a cool, dark place. Unsealed jars should be refrigerated and used within a few days. Remember, safety is paramount when canning. Always use a pressure canner for low-acid vegetables to prevent the risk of botulism, and follow trusted recipes and guidelines. With these steps, you’ll be well on your way to enjoying your home-canned vegetables all year long.  Living Off the Grid with Canned Vegetables Preserving the Harvest Canning your own vegetables is a practical way to preserve your garden’s bounty. It allows you to capture the peak freshness and nutritional value of your produce, ensuring that you have access to healthy food even during the off-season. This method of preservation is particularly valuable for off-grid living, where access to fresh produce can be limited by location and seasonality. Reducing Dependency One of the core principles of off-grid living is reducing dependency on external systems. Canning vegetables means you’re less reliant on grocery stores and the commercial food supply chain. This independence is not only empowering but also provides a sense of security in knowing you have a stockpile of food that can sustain you and your family. Energy Efficiency Canned vegetables don’t require refrigeration, which aligns perfectly with the energy-conscious approach of off-grid living. By preserving your food through canning, you save on the energy that would otherwise be needed to power refrigerators or freezers. This is particularly beneficial for those who rely on alternative energy sources, such as solar or wind power, which may not always provide consistent energy output. Eco-Friendly and Cost-Effective Canning your own vegetables is both eco-friendly and cost-effective. It reduces the carbon footprint associated with transporting food and minimizes food waste by allowing you to store surplus produce. Additionally, canning at

Canning Vegetables: A Step Towards Self-Sufficiency Read More »

Water Collection

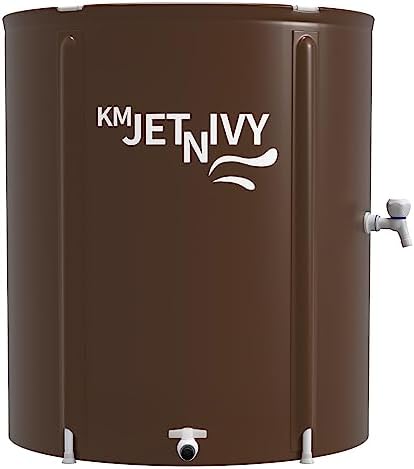
Oatey Mystic Rainwater Collection System, 2 in. x 3 in., White

Easily collect and recycle rainwater with the Oatey Mystic Rainwater Collection System. A perfect addition to your garden, this system directs rainwater from a downspout into a collection barrel (not included). The Mystic is easily installed and will fit on a standard 2 in. x 3 in. residential downspout. Step-by-step instructions are included along with a 4 ft. high flow hose to connect the diverter to the collection container. The 2-piece design is made of durable, UV-resistant material and can be painted to match the downspout color. Oatey products have earned the trust of plumbing professionals for over 100 years.

Oatey Mystic Rainwater Collection System, 2 in. x 3 in., White Read More »

wind turbine generator kit 10

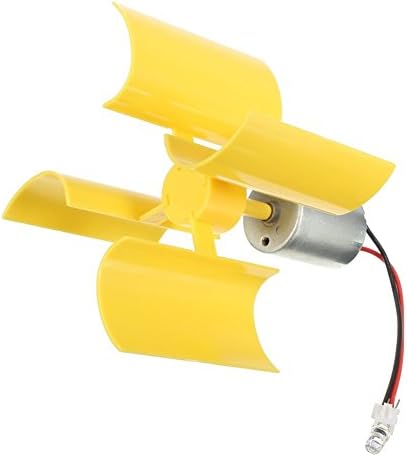
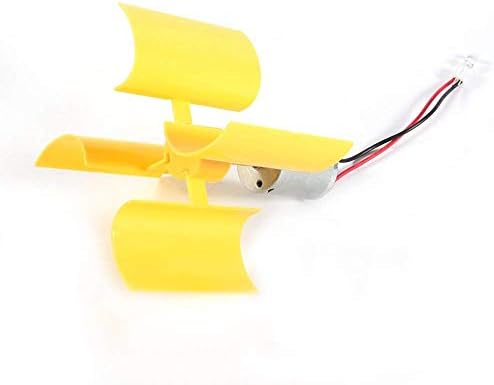
DC 0.1V-5.5V 100-6000RPM Micro Vertical Wind Turbines, Small Motor Blades Generator for DIY (1pc)

Parameters:
^Small and very good for demonstration.
^Complete set mini wind turbine generator model kits.
^Can also be used to make science model.
^You can convert 360 degree at any angle, and it will automatically face the wind direction.
^Can work with light wind.

Features:
Stepper Motor controller simple Drive PWM controller
Rated Power: 0.55 W
Output Voltage: 5.5 V
Diameter of Fan(installed): 100mm
Quantity of Vane: 4
Rated Wind Speed: 5.5 m/s
Diameter of Motor: 24.5mm
Height of Motor: 34.2mm
Weight: 120 g(approx.)

Package included:
1 x Micro Wind Generator

Note:
1. Please allow 1-3 mm error due to manual measurement. Thanks for your understanding.

Complete product: It needs youself to assemble the wind turbine generator model kits,you can enjoy the fun of DIY.
MINI size:Small and very good for demonstration,can be used as a wind power teaching experiment. Great to cultivate students and kids hands-on ability.
360° Rotatable: You can convert 360 degree at any angle, and it will automatically face the wind direction.
LOW ENERGY CONSUMPTION: Power generation LED light, low power consumption of LED required,under a fan is enough to get the power to light the LED.

DC 0.1V-5.5V 100-6000RPM Micro Vertical Wind Turbines, Small Motor Blades Generator for DIY (1pc) Read More »

wind turbine generator kit 10

Electricity Generator, Micro Wind Turbines Dc Motor Vertical Motor Blades DIY Kit for Science Education Experiment


Description:
This vertical wind generator can work no matter from which direction the wind comes.
Compared with traditional horizontal wind generator, the vertical generator can work with light wind,
but it may generate little less amount of electricity when there is strong wind.

Features:
1, Small and very good for demonstration.
2, Good teaching tool of wind power generating.
3, Can also be used to make science model.
4, Can work no matter from which direction the wind comes.
5, Can work with light wind.

pecification:
Rated Power: 0.55 W
Output Voltage: 5.5 V
Diameter of Fan(installed): 100mm
Quantity of Vane: 4
Rated Wind Speed: 5.5 m/s
Diameter of Motor: 24.5mm
Height of Motor: 34.2mm
Weight: 60 g(approx.)

Package includes:
1 x Vertical Wind Generator

Note:
1. Please allow 1-3 mm error due to manual measurement. Thanks for your understanding.
2. Monitors are not calibrated same, item color displayed in photos may be showing slightly different from the real object.
Please take the real one as standard.

Electricity Generator, Micro Wind Turbines Dc Motor Vertical Motor Blades DIY Kit for Science Education Experiment Read More »

wind turbine generator kit 10

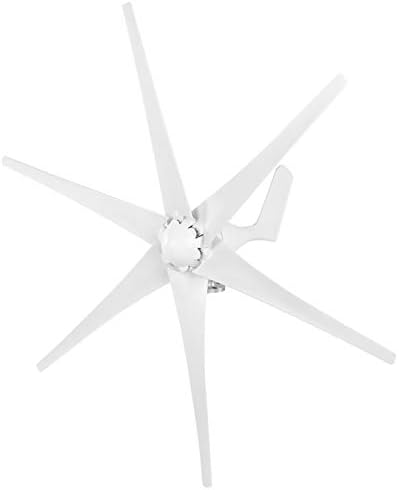
800W Windmill Turbines Generator Kit Small 6 Blade Wind Industrial Machinery Equipment for Marine Home Charging

Price: [price_with_discount] as of [price_update_date] – Details This product has a 3 out of 5 rating as of [price_update_date] (CTA) 800W Windmill Turbines Generator Kit: The Compact Powerhouse for Wind Energy Greetings, sustainability enthusiasts! The power of the wind isn’t just in its strength, but in how we utilize it. With the 800W Windmill Turbines Generator Kit, you can now channel the force of nature right at your home. This compact wind turbine, with its six blades, ensures you don’t miss out on any wind energy opportunity. But is this small-scale wind marvel the right fit for you? Let’s dive deep into its features to find out! Compact but Mighty: The Power of Six Don’t let the size fool you; with six efficient blades, this turbine packs a punch. Six Blades of Efficiency: Designed for optimal wind capture, ensuring that not a gust goes to waste. Ideal for Small-scale Use: Perfect for home setups, marine applications, and small establishments. Versatile Voltage: Customized for Your Needs Every home, boat, or establishment has unique energy needs. This turbine gets that. Adaptable Energy: Operates smoothly on a 12V system, making it ideal for varied setups. Aesthetically Pleasing: White Wonder While it’s all about function, who said wind turbines can’t be stylish? Elegant White Finish: Blends effortlessly with any background, be it a home yard or a boat deck. Compact Design: Space-saving and efficient, ensuring maximum output with minimal footprint. Pros: Harnessing Wind, Seamlessly User-friendly: Especially designed for beginners, ensuring easy setup and maintenance. Lightweight: Its compact nature ensures easy installation without the need for heavy machinery. Durability: Made with high-quality materials, this turbine promises long-term performance. Cons: Points to Ponder Wind Speed Dependency: Might require consistent and strong wind flow for optimal output. Noise Levels: The six blades could generate noise, depending on wind speed. Wind-Powered Wisdom: The Verdict Is the 800W Windmill Turbines Generator Kit the wind whisperer you’ve been searching for? If you’re looking to venture into wind energy, especially on a smaller scale, this turbine offers a promising start. Efficient, elegant, and easy-to-use, it ensures you harness the power of nature without any hassles. So, if you’re ready to set sail on the wind energy journey, this might be your first perfect companion! (CTA)

800W Windmill Turbines Generator Kit Small 6 Blade Wind Industrial Machinery Equipment for Marine Home Charging Read More »

wind turbines

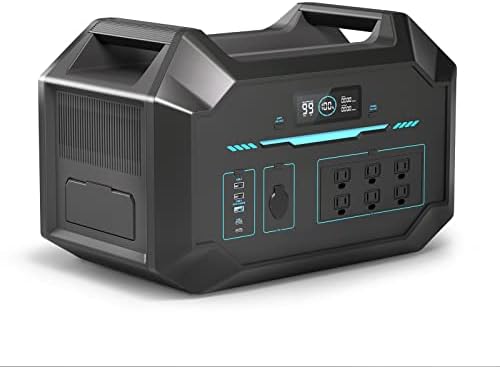
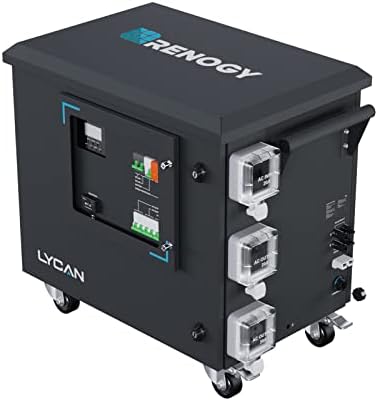
Renogy Solar Generator Portable Home Battery(LiFePO4)

From the brand

brand storybrand story

Empowered

Offers various off-grid solar power solutions that provide the comforts of home for Tiny Homes, Vans, RV, Trailers, Trucks, Marine.

brand logobrand logo

Since 2010 we have been on a mission to change the way the world uses energy. We are committed to making a lasting impact on the earth by removing barriers to sustainable living and energy independence.

Our mission is to empower the energy independence of 50M people with DIY-friendly and reliable renewable energy products by 2030.

We are optimistic humankind can achieve a sustainable future where renewables are at the core of our energy supply.

Portable Power Station

Renogy Phoenix & Eflex Series

Rigid Solar Panels

Flexible Solar Panels

Small Watts

Solar Battery Trickle Charger

How did we get our start?

Renogy started as a small project by students at Louisiana State University. With the help and support of the Louisiana Business and Technology Center, Renogy has grown into a flourishing company.

What problem are we solving?

Renogy intends to be a driving force behind the push for sustainable living and energy independence.

What makes our products unique?

We aim to provide all the components necessary for users to build off-grid solar power systems at affordable prices.

Renogy Solar Generator Portable Home Battery(LiFePO4) Read More »

wind turbines

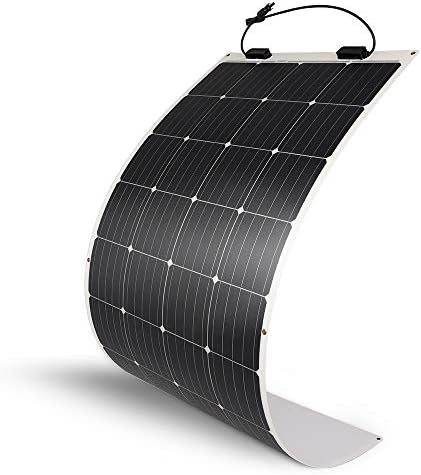
Renogy Flexible Solar Panel 175 Watt 12 Volt Monocrystalline

Meet the Renogy 175W Flexible Solar Panel – the culmination of cutting-edge technology and precision. This ultra-lightweight panel can achieve up to an incredible 248-degree arc of flexibility thanks to advanced solar cell technology and lamination techniques. At 6.2 pounds, this panel weighs 70% less than its standard counterpart and is less than 5% as thick. This makes it easy to transport, install, and affixed to uneven surfaces. It’s precisely this kind of adaptability that makes the Renogy 175W Flexible Solar Panel the ideal choice for airstreams, campers, and boats.

Mounting Recommendation: Modules must be mounted using silicone structural adhesive on the backside of the panel, grommets are only to be used for non-mobile applications. For detailed installation methods, please consult a local contractor for guidance.

Renogy Flexible Solar Panel 175 Watt 12 Volt Monocrystalline Read More »